Most often my fills are subtle, 2-colour linear gradients; in this beach house all the fills are solid, except for the sun and windows. A few years back I tended to use gradients that were contrasty in colour and value and led to a more dramatic, artistic effect; I may return to that practice soon.
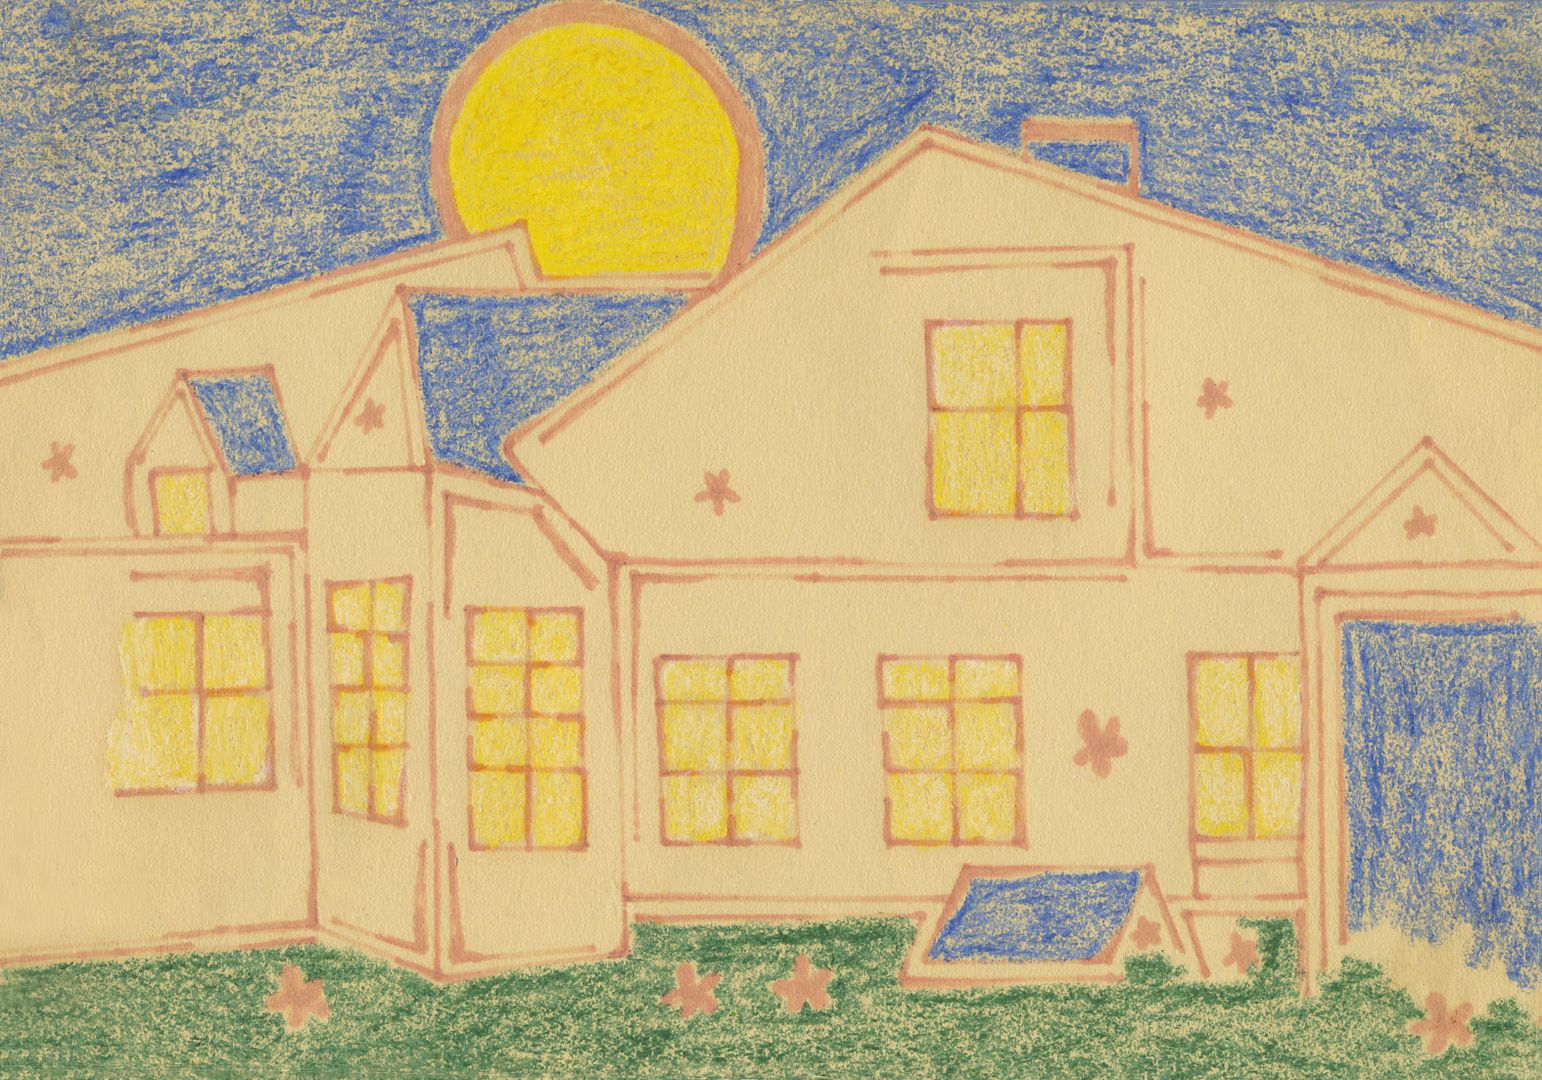
01. first, a scan in 24-bit colour; because the original was about 12" x 8" I scanned this one at 450 dpi:
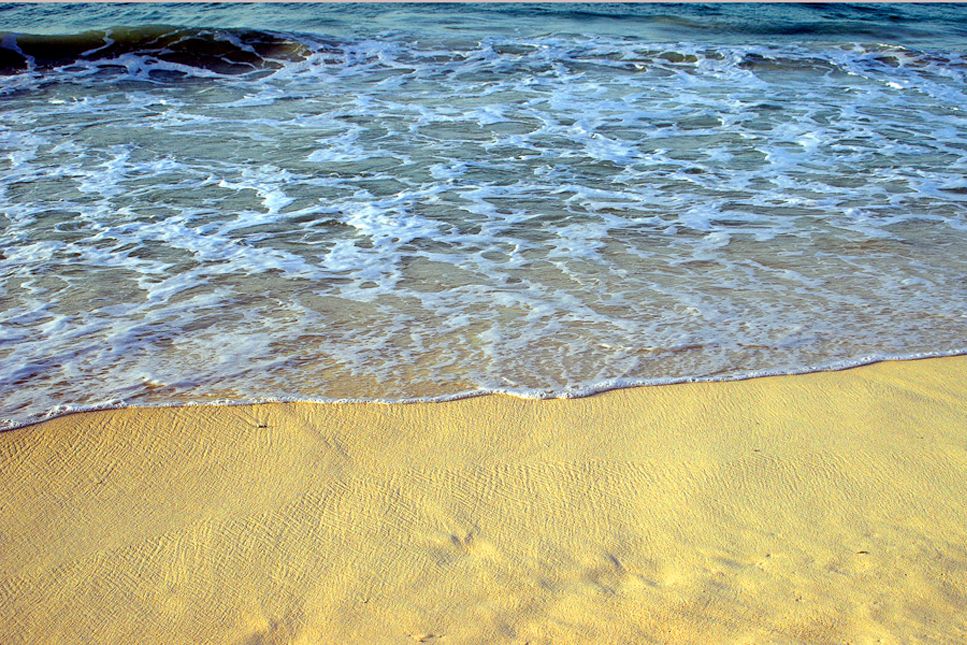
02. for the window reflections, this time I used a beach photo I took at Columbia Point, Boston, and edited with Photoshop filters:
03. canvas:

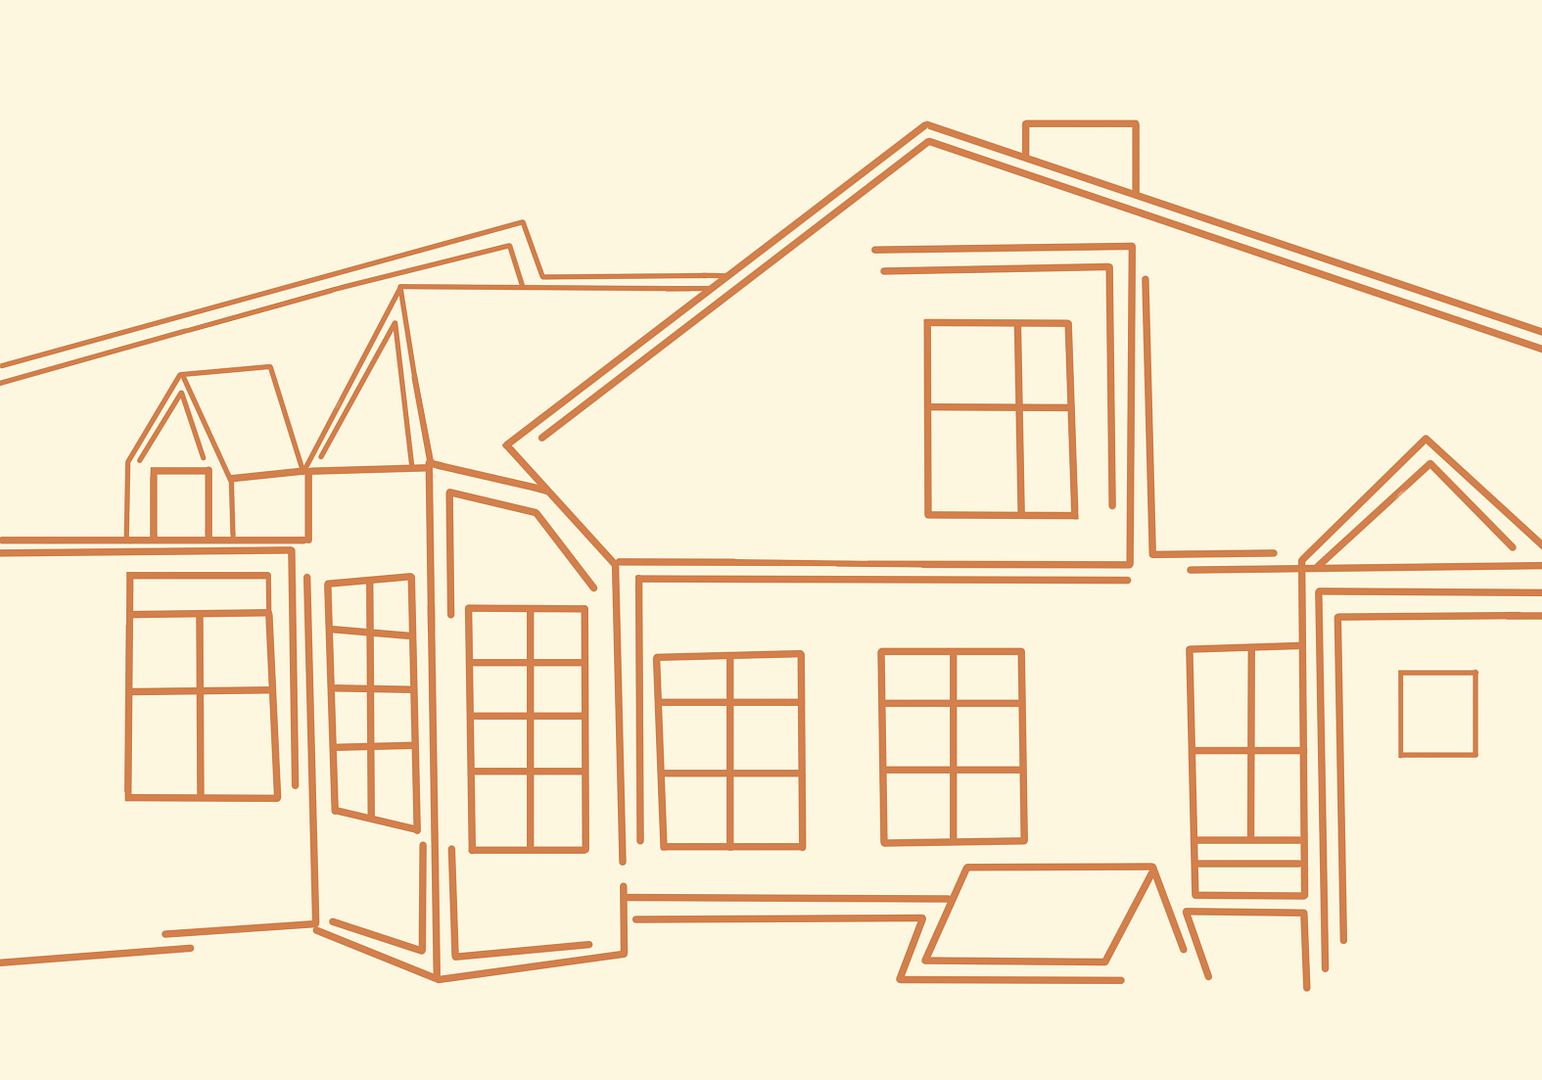
04. outlines:
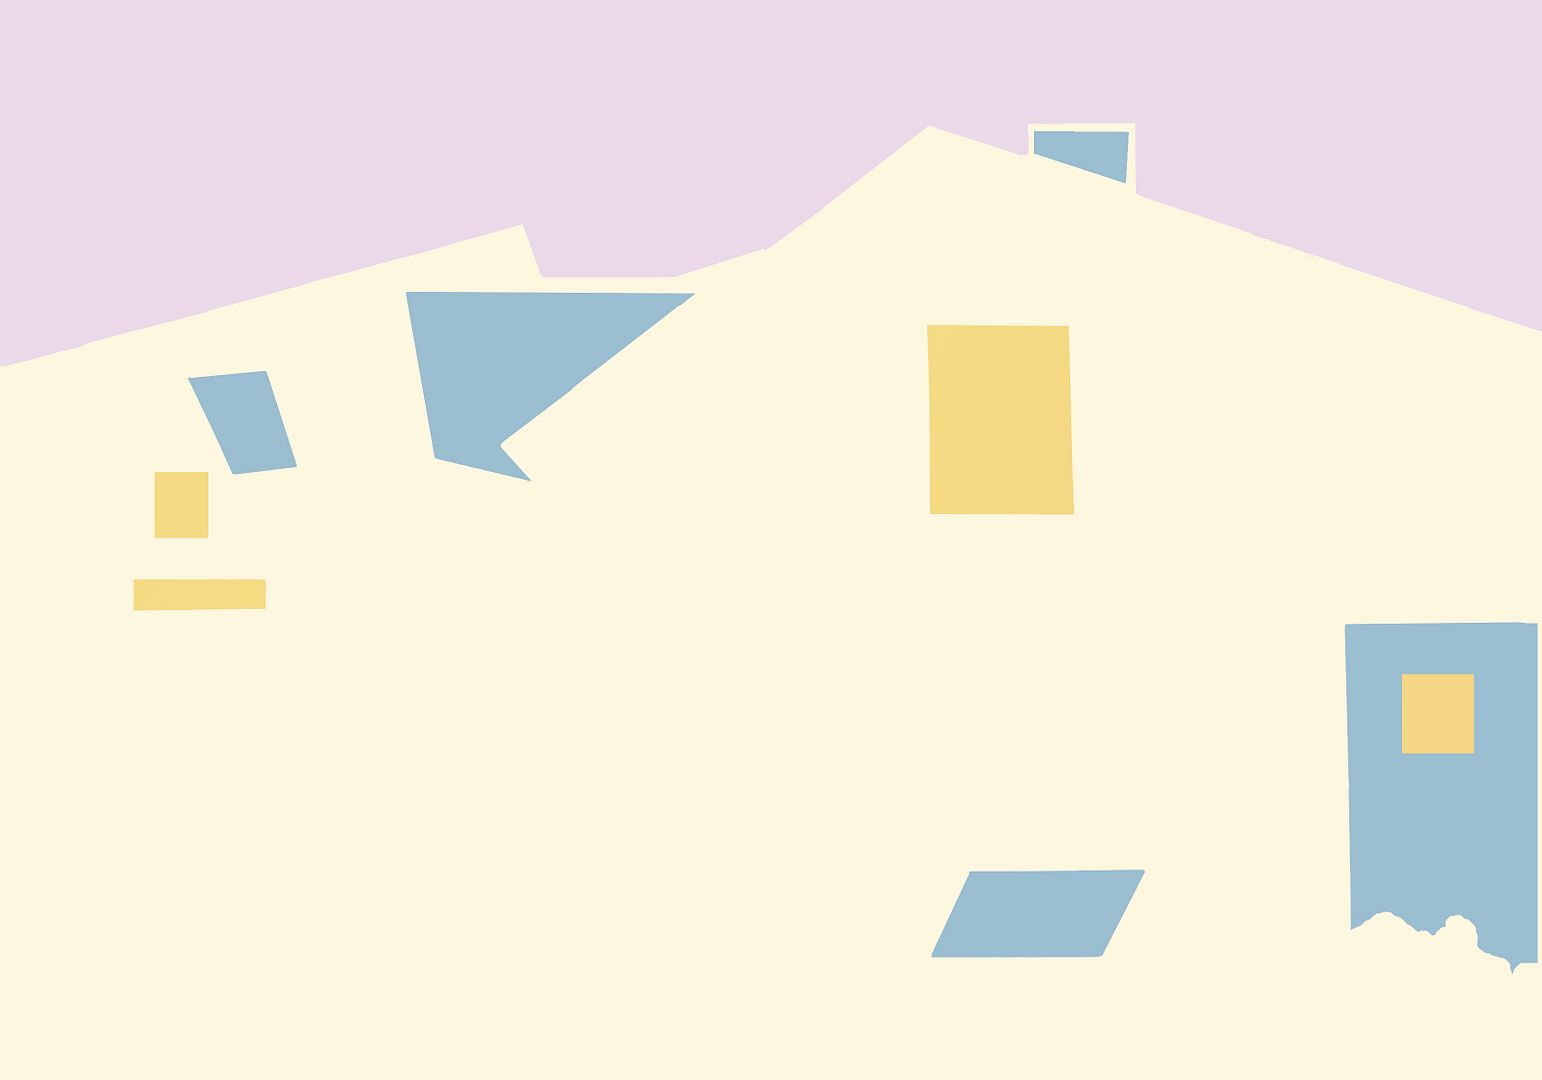
05. colour blocks:
06. plus grass:
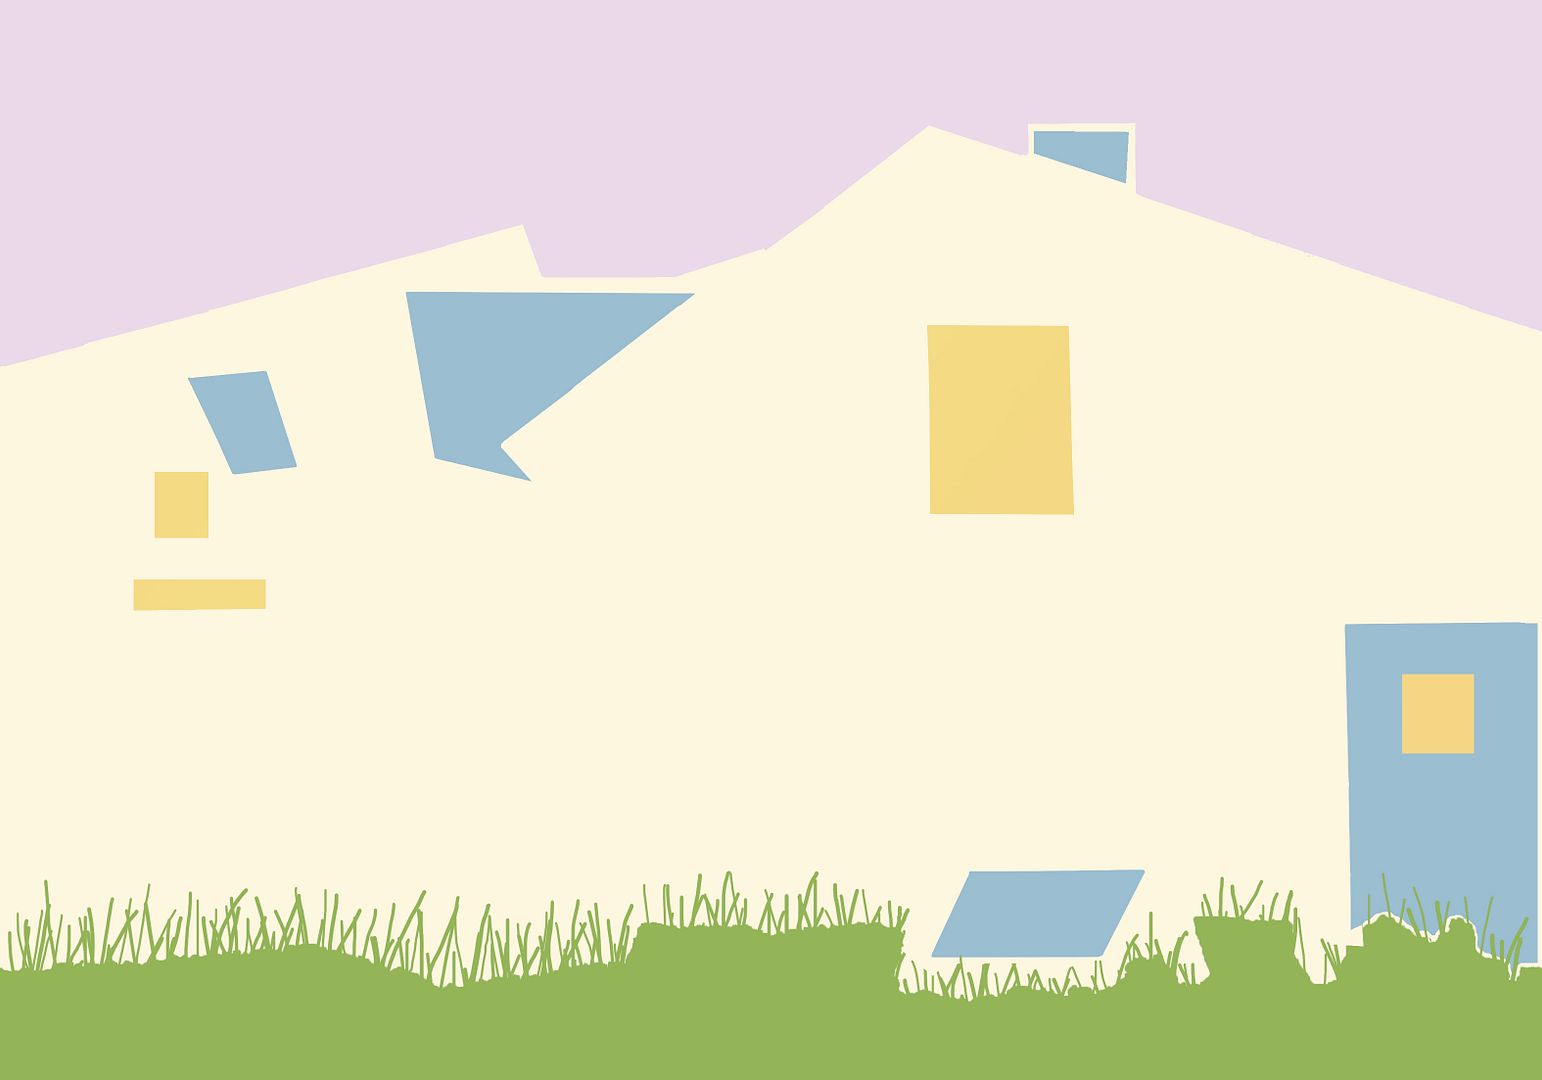
07. with sun:
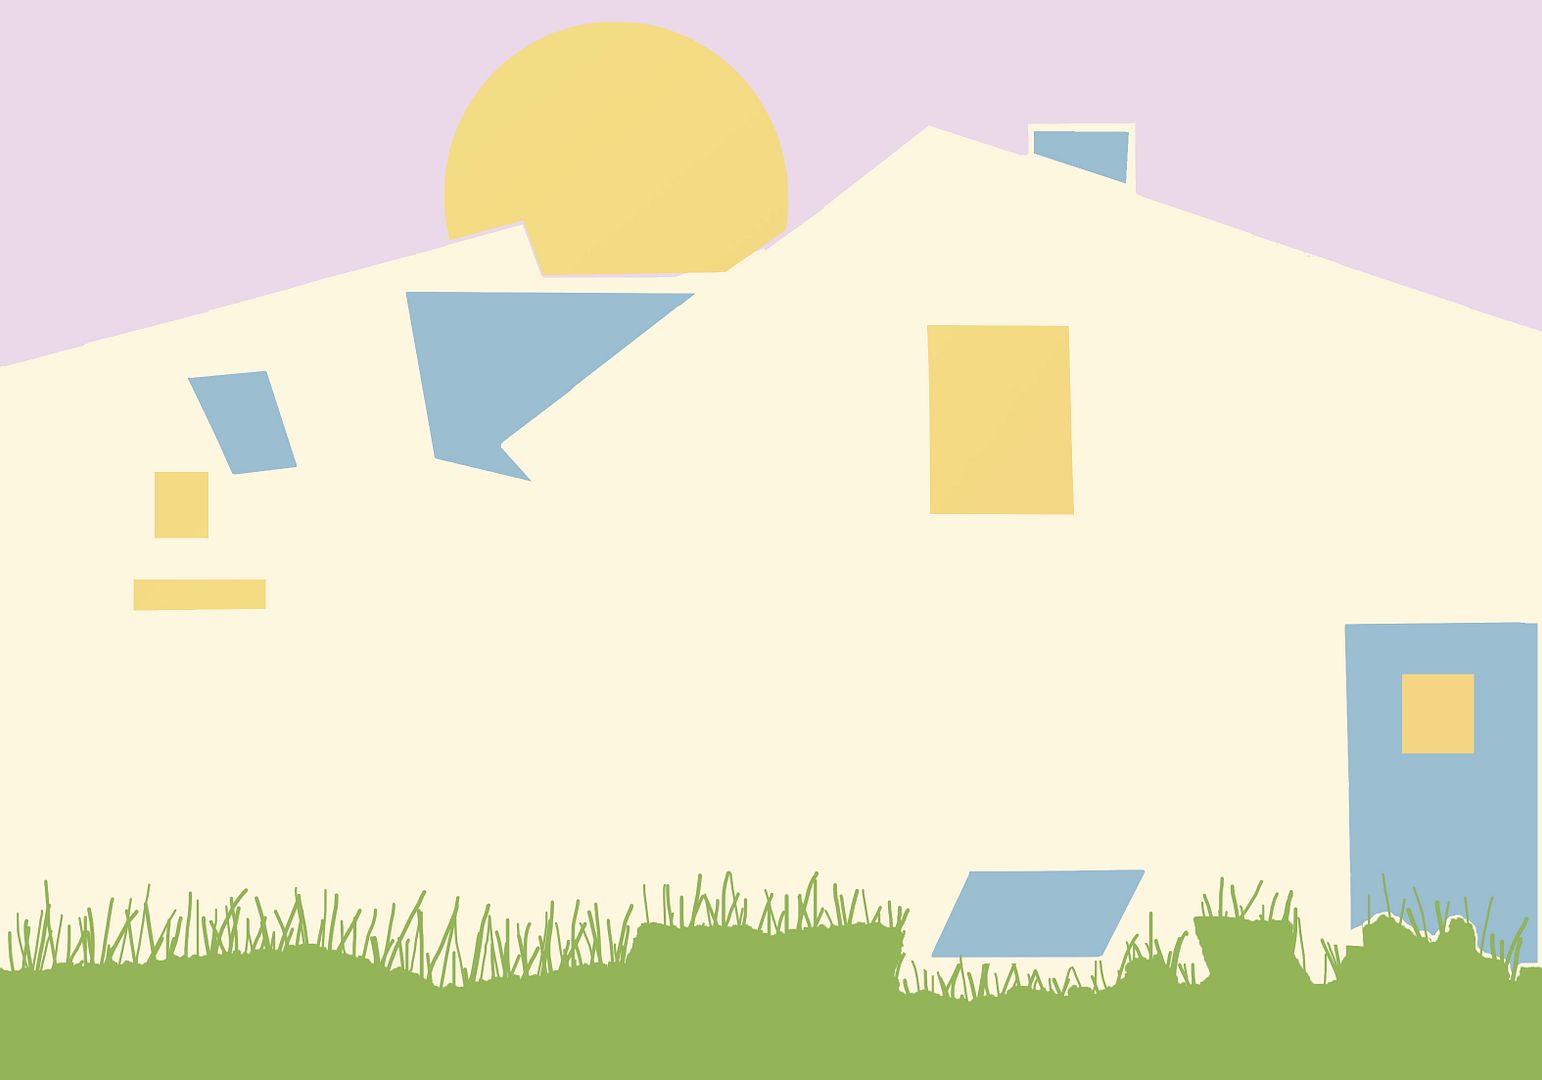
08. windows:
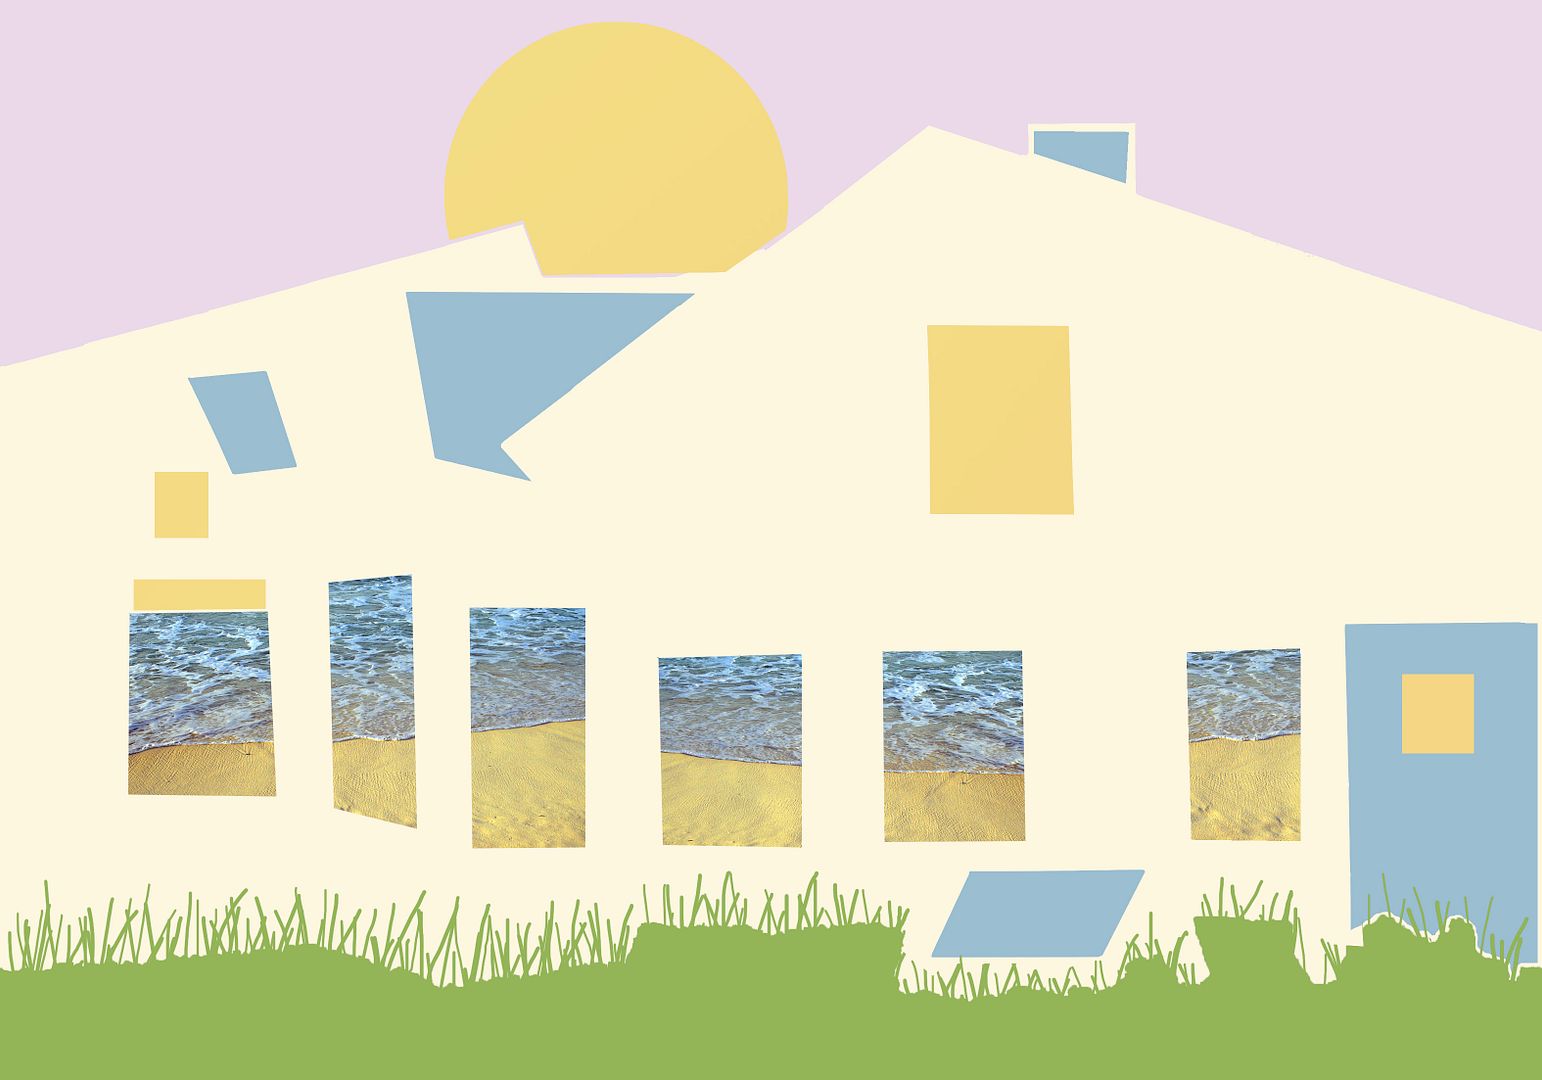
09. almost ready:
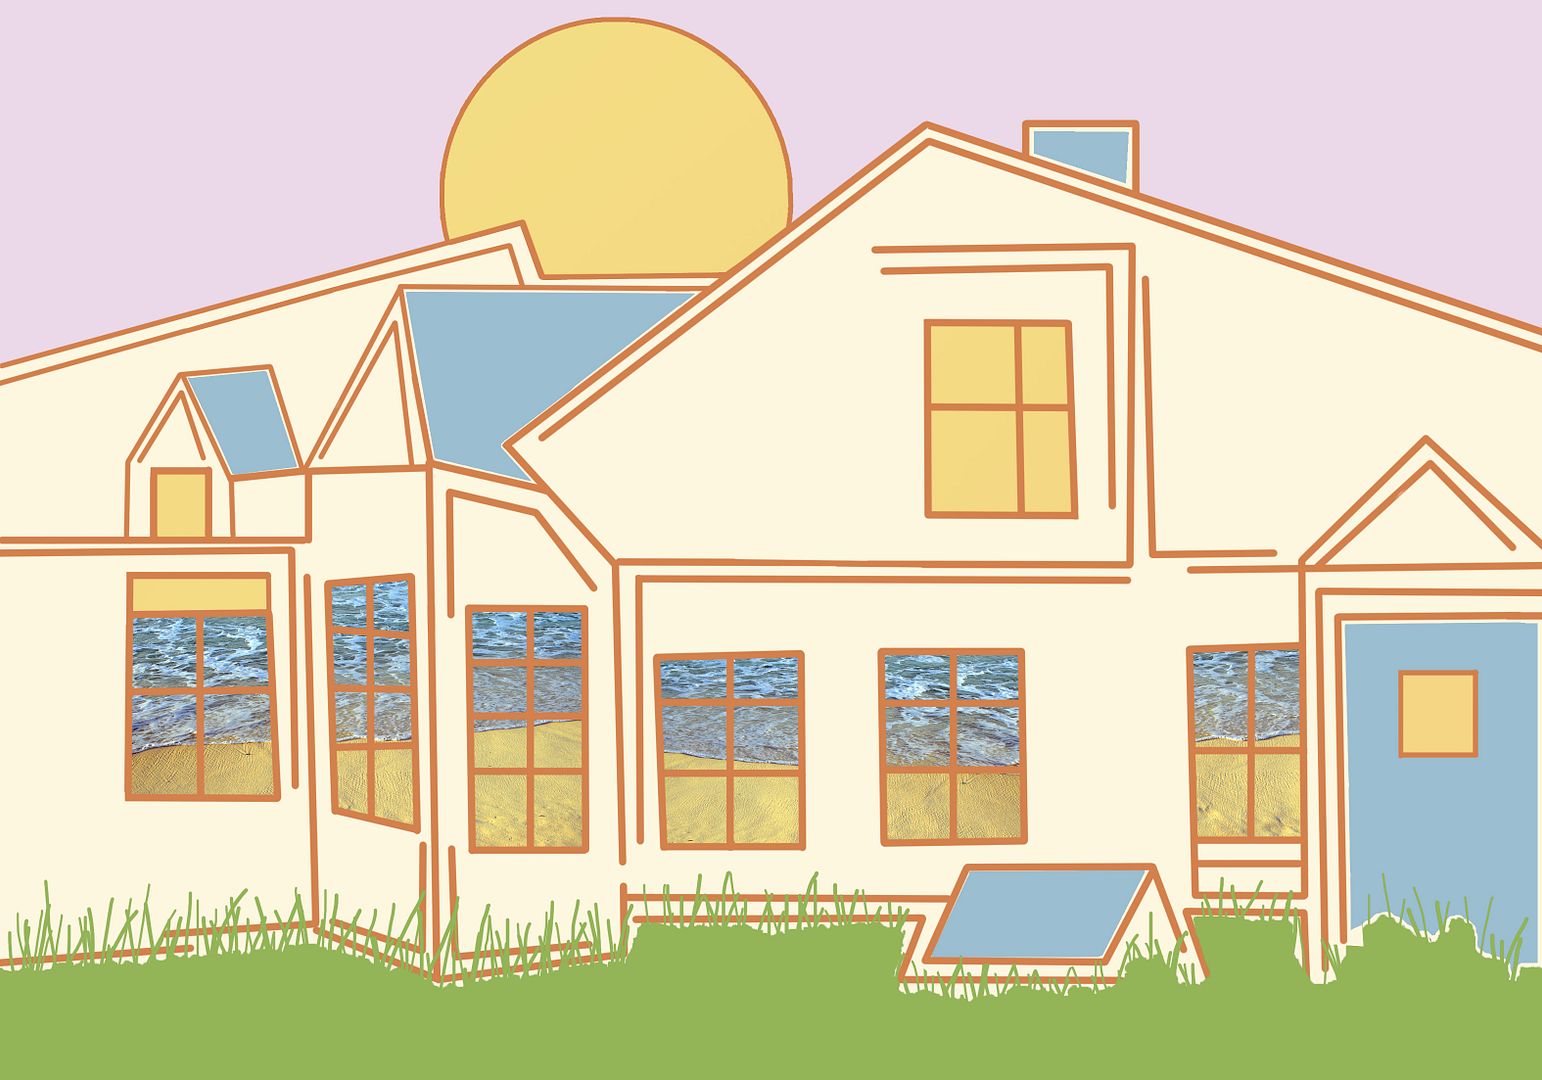
10. with copyright / signature in Helvetica Neue ultralight:
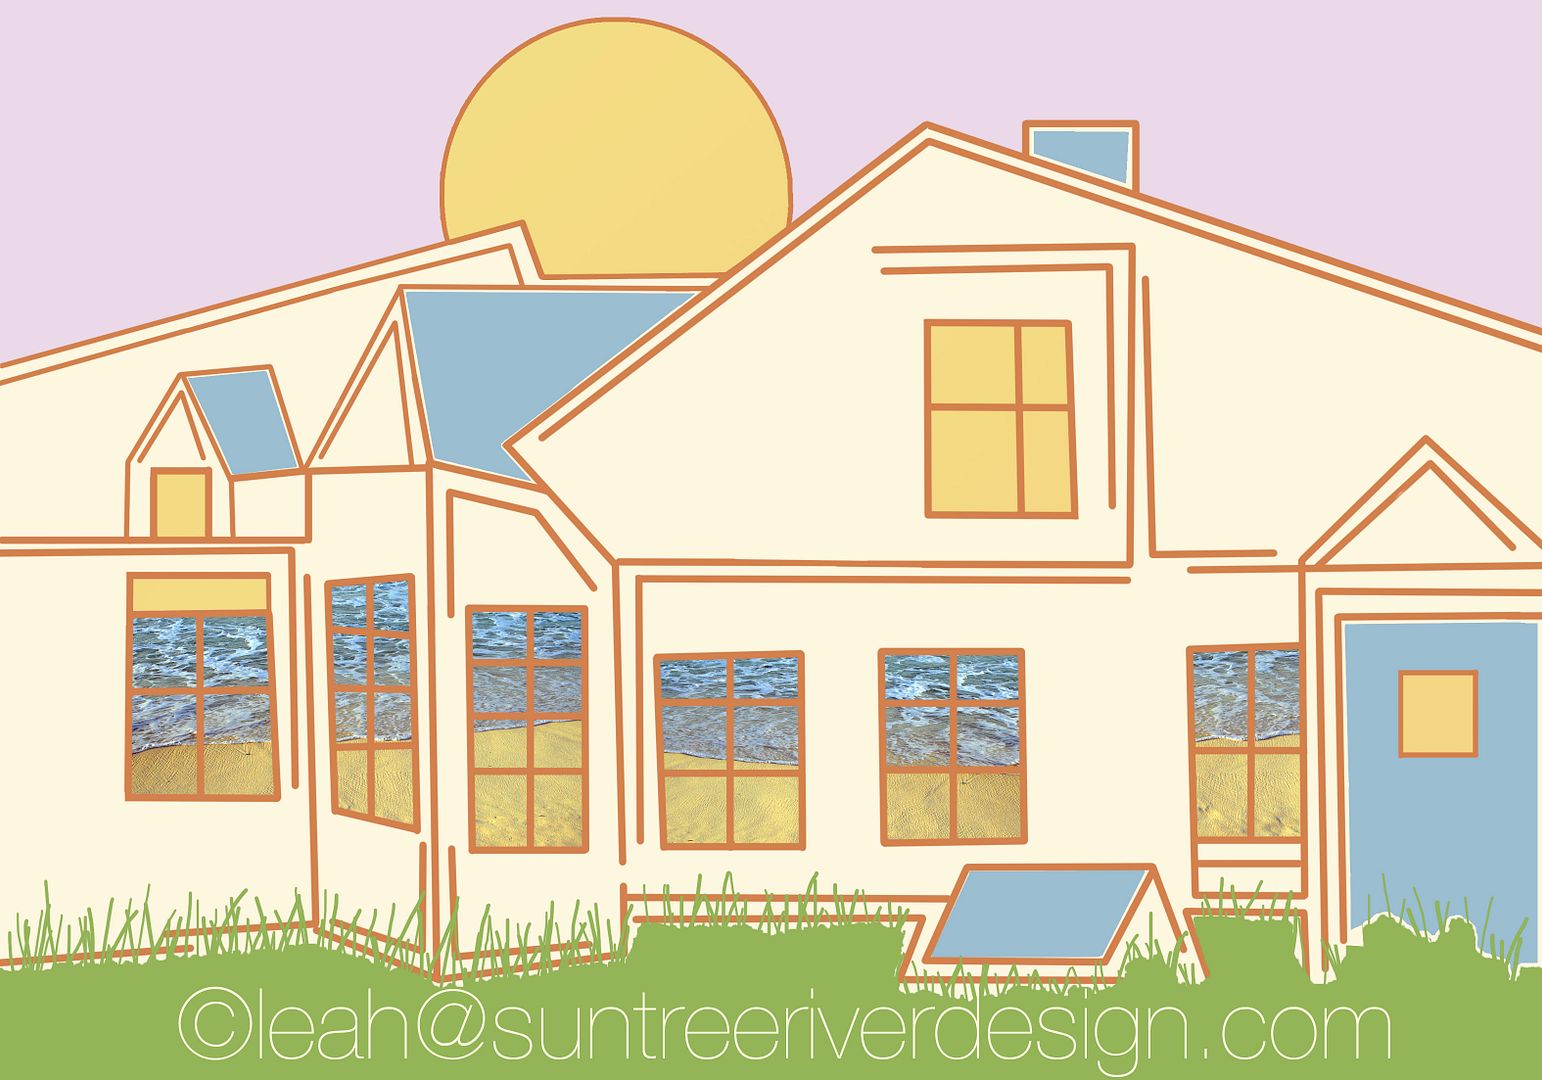
The finished "beach house" totals 11 layers, including the signature / copyright. I saved out only 8 selections, which probably is an average number. Just as a couple years ago, I did versions with two different sky colours, but decided to make thistle sky the default.
No comments:
Post a Comment